It shouldn’t happen, but we know it does. On occasion you or a colleague will lock everyone out of a tenant after fiddling with a Conditional Access policy. What follows is a painful process of going through Microsoft support, getting forwarded to the data protection team and jumping through a lot of hoops.
But… what if I told you that you aren’t completely locked out if you’re using CIPP? You’re probably thinking “but I tried CIPP and it gives me an error?”. Which is correct…
But it doesn’t mean you don’t still have access!
 Witty commentary about locked doors here!
If you’ve ever taken a look through how CIPP works you will have stumbled on to the CIPP-SAM app that lives in your tenant. It contains a number of permissions, one of which is Policy.ReadWrite.ConditionalAccess.
Specifically you’ll see this permission added twice, once as a “Delegated” permission and once as an “Application” permission.
Almost all of your interactions with a customer tenant through CIPP happen using “Delegated” permissions, which Conditional Access applies to and is why CIPP is also locked out.
But Conditional Access doesn’t apply to “Application” permissions, so that means you still have access to edit Conditional Access. You just can’t use the CIPP UI.
First we’ll need to collect some information. Go to the Entra ID App Registrations page). Find and open the CIPP-SAM app registration (you may need to click on “All Applications”).
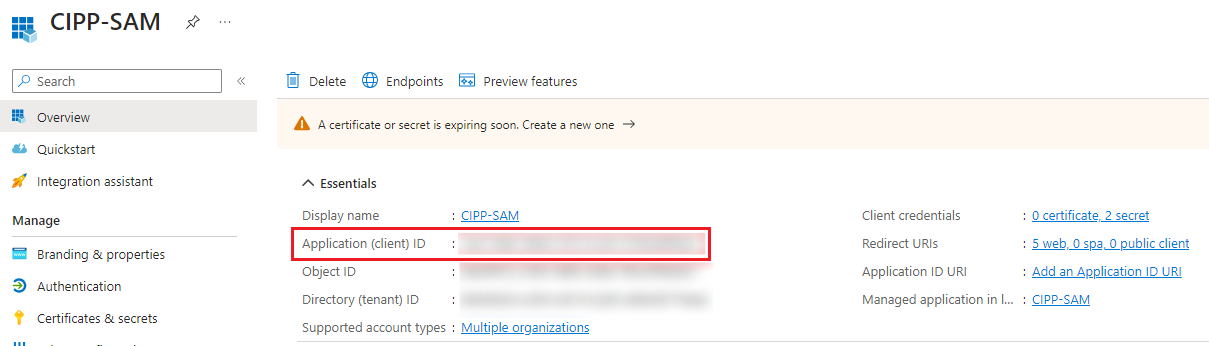
As you can see opening up the CIPP-SAM app page gives us the Application Id (also known as Client Id).
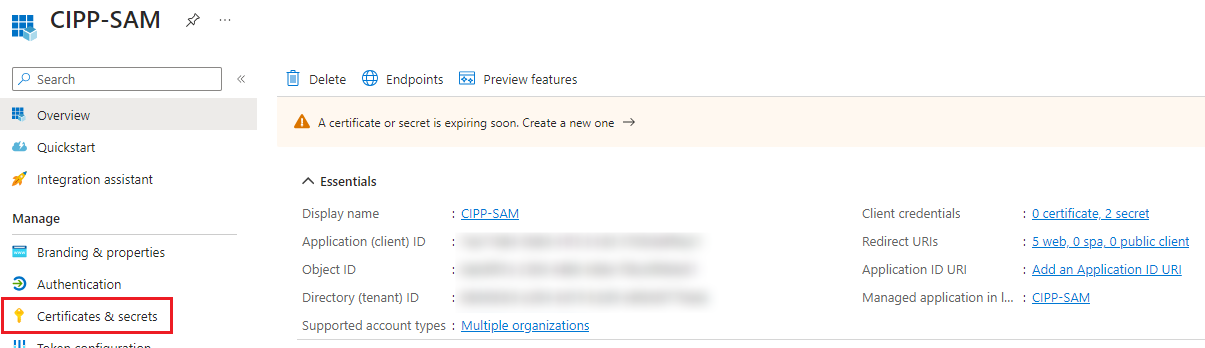
After you copy this information you can click on “Certificates & Secrets”.
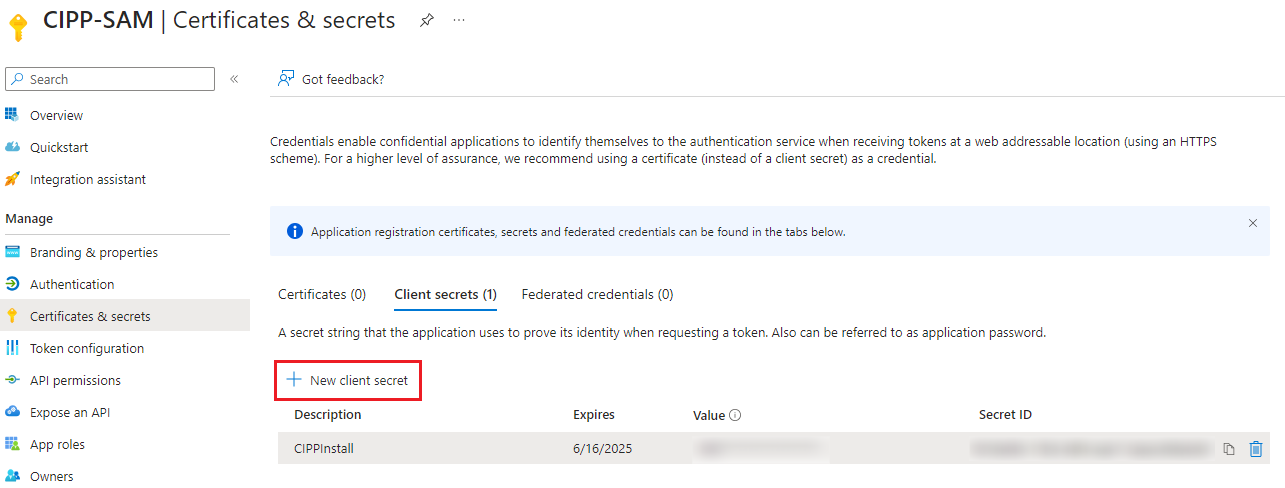
Here you can add a new secret. Since you’re only using it to regain access to the customer tenant I’d recommend setting the duration to a day or two.

Copy your secret. Make sure to copy the actual SECRET and not the ID.
The code
Now that you’ve got all the needed information you can take the code below and open it up in your IDE of choice. Fill in the ClientId, ClientSecret and TenantId (customer tenant!) variables. Then you can execute the code.
1
2
3
4
5
6
7
8
9
$ClientId = "{CIPP-SAM app id}"
$ClientSecret = ConvertTo-SecureString "{CIPP-SAM Client Secret}" -AsPlainText -Force
$connDetails = @{
TenantId = "{Customer Tenant Id}"
ClientSecretCredential = New-Object System.Management.Automation.PSCredential ($ClientId, $ClientSecret)
}
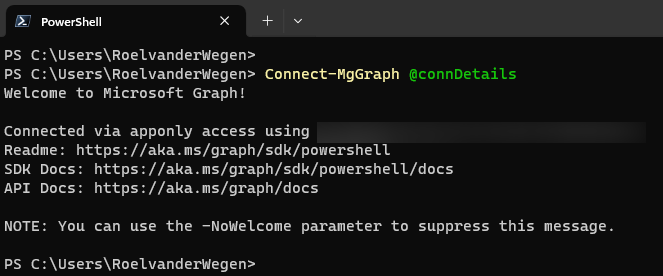
Connect-MgGraph @connDetails
You should now be authenticated to the customer tenant as the CIPP-SAM app.
Now you can list all the policies by running the following code.
1
Get-MgIdentityConditionalAccessPolicy -All
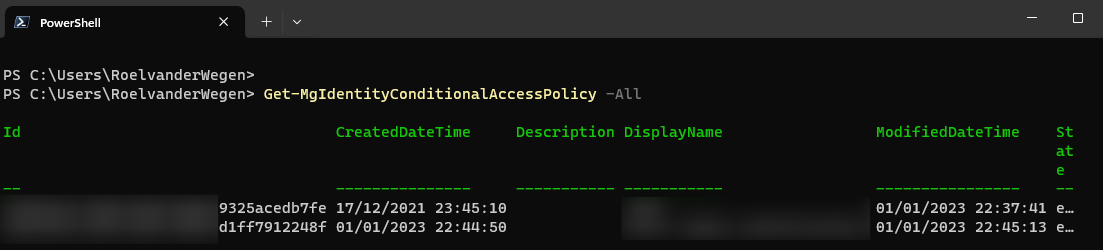
Now copy the id or id’s of the policie(s) you want to disable and run the following code for each of them.
1
Update-MgIdentityConditionalAccessPolicy -ConditionalAccessPolicyId "{ConditionalAccessPolicyId}" -State "disabled"
You may need to wait a Microsoft minute but you should now be able to login interactively to the tenant again. Now go fix the policy and re-enable it!